Checking Insulation with Restoration Moisture Meters

 Mitigating moisture intrusion on a restoration job can be incredibly challenging, as there are many different building materials where moisture can hide. Left unchecked, this moisture can cause some materials to weaken, or even encourage the growth of mold in the structure.
One type of building material where it’s easy to miss a pocket of moisture is insulation, whether it’s fiberglass, foam, or some other material. This is why it’s important for restoration experts to thoroughly check the insulation in a structure as a part of their dryout efforts.
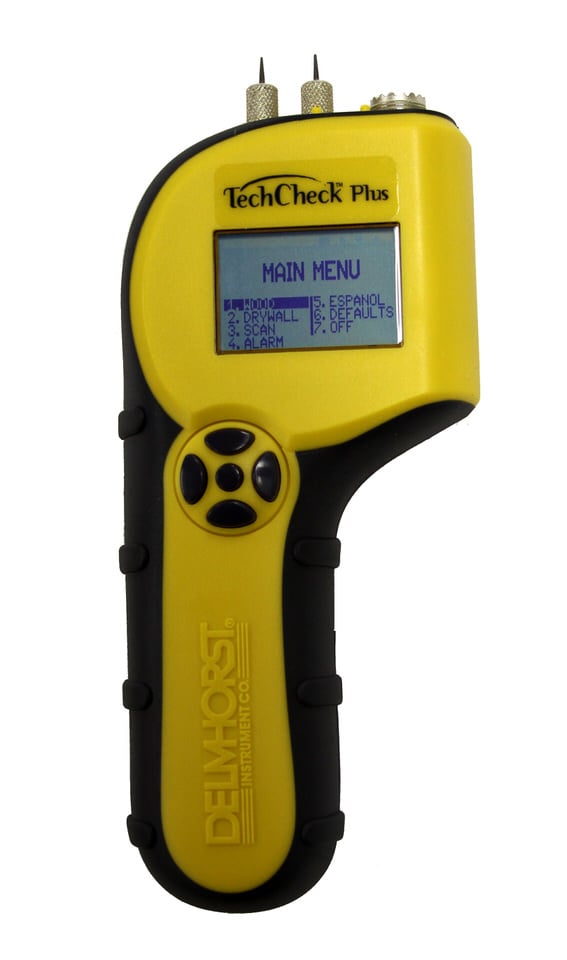
One way to check insulation for excess moisture is to use a restoration moisture meter. Here are a few tips for using a moisture meter for insulation:
Tip #1: Take Readings from Multiple Angles if Possible
Most insulation consists of loosely-packed material, such as fiberglass. Because insulation is so loose there may be pockets of empty air inside insulation. This can lead to erroneous moisture content readings as the pins might not be making full contact with the insulation due to the pin tips being in an air pocket.
To compensate for this possibility, it's important to check for moisture from multiple angles whenever possible. This helps to ensure that a single empty space in thick insulation doesn't give you the wrong impression about the insulation's %MC.
Tip #2: Test Relative Humidity as Well
If you have a thermo-hygrometer, be sure to test the relative humidity of attics and other areas with insulation as well. The moisture in compromised insulation will add extra water vapor to the air, increasing the humidity. By testing for humidity in a structure, you can make it easier to find moisture-compromised building materials.
If you check other building materials and don’t find signs of moisture in an area with a high RH value, check the insulation, as the moisture may be trapped in there.
Tip #3: Checking Insulation Behind Drywall
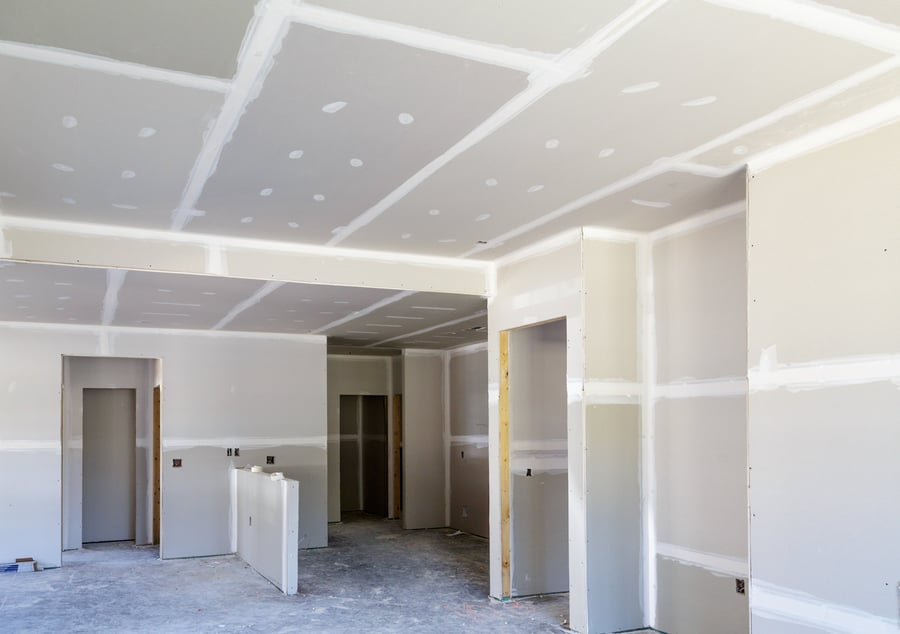
 Drywall is highly susceptible to deterioration when exposed to moisture from any source. When a leak occurs in pipes behind a wall, moisture can seep into insulation and transfer to the drywall, creating visible wet spots. However, these wet spots don't always show the full extent to which the insulation behind the wall has been affected.
The issue here is that if you just tear out the wet-looking drywall, and the insulation immediately behind it, you might miss moisture-compromised insulation around the area. On the other hand, simply ripping out the entire wall and all of the insulation behind it may be wasteful of time, labor, and materials.
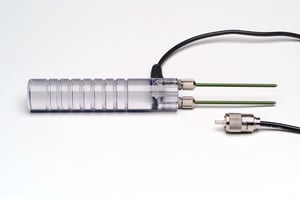
A good compromise is to use an electrode with reinforced pins (such as Delmhorst's 21-E electrode) to punch through drywall surfaces to check the insulation behind the walls. Here, you'll want to check the edges of the visible wet area, then repeat these checks about 2-3" out from the edges of this area.
Keep repeating measurements, moving another few inches out each time until you stop testing positive for moisture. Also, be sure to perform a similar process for above and below the wet spot, moving all the way to the ceiling or floor if needed.
If the moisture runs all the way to the ceiling, be sure to check for a moisture intrusion source in the area above that room. If there are pipes running through the walls, be sure to check them for leaks, as they can be another source of moisture intrusion.
This should help you see just how much of the insulation is compromised before you have to do a full tear-out of the wall; a useful bit of information when you have to explain why a given wall needed to be torn out.
Using a moisture meter for restoration on the insulation of a building can help you easily find pockets of moisture that might have been missed with a purely manual inspection. In this way, restoration moisture meters are a great tool for helping ensure thoroughness in restoration work.
Subscribe to Our Blog
Post Related

How to Measure Moisture in Drywall


